Connecting a receipt printer to HubRise
Connect ONE single receipt printer to all of your internet sales channels, it’s possible with Expedy Print and HubRise.
Orders are automatically transmitted to the printer in the form of a standardised till receipt.
- Site Marchand (Woocommerce, Shopify, Prestashop…)
- Plateformes de livraison (Uber Eats, Just Eat, Deliveroo…)
Imprimantes compatibles
Printers Expedy Cloud Print : PP-58EWG, PP-80EWG, XPDY80EWBG
- USB adapter compatible with any printer model with ESC POS or ESC/P command functionality (EPSON, STAR MICRONICS, MUNBYN, CITIZEN…)
Create a HubRise account
To automatically print orders from delivery platforms (Uber Eats, Deliveroo, Just Eat…) to a single printer, an aggregator such as HubRise is required.
Please create a account HubRise before switching to next step.
Connect HubRise to the printer
Step 1: Open the Expedy console
Log in to your Expedy access : https://www.expedy.fr/console
Step 2: Access the remote printer
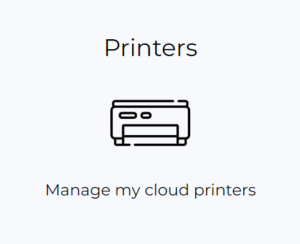
Go to PRINTERS
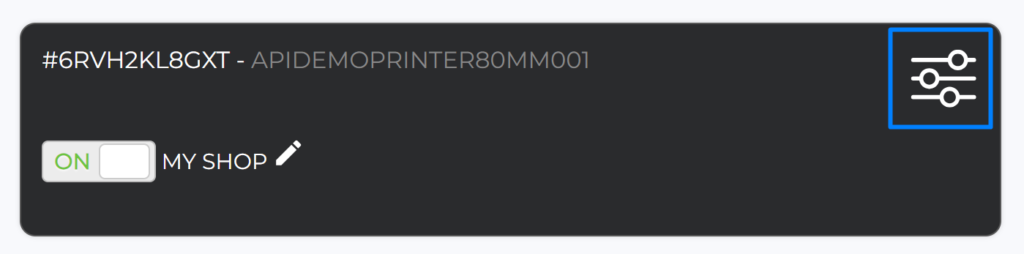
Click on your printer settings
Step 3: Associate the HubRise account with the printer
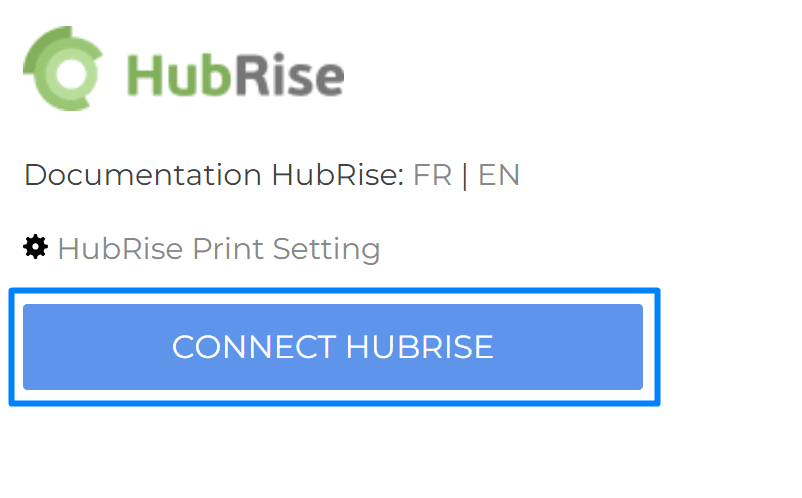
Go to the “CONNECTIONS & PLUGINS” section and then HubRise.
Click on “CONNECT HUBRISE”.
HubRise asks you to authorize this association.
Select the establishment you want to associate with this printer.

Then click “Allow”.
You are automatically returned to the Expedy console home page and the following message is displayed.

Trigger Settings
Go to PRINTERS
Click on your printer settings
Go to the “CONNECTIONS & PLUGINS” section then under HubRise new features appear.
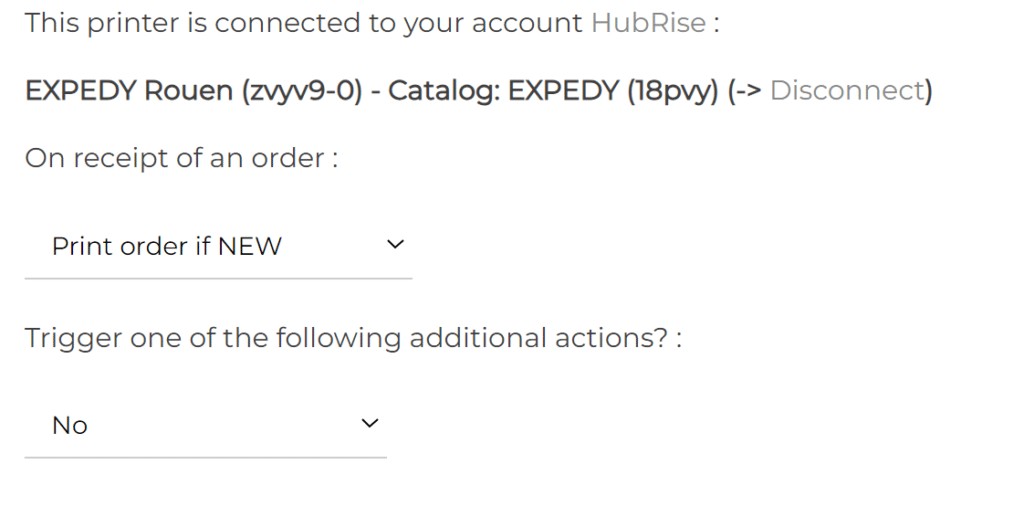
choice 1 corresponds to the status that the order must have for the ticket to be printed:
- new
- received
- accepted
choice 2 corresponds to an additional action that allows you to automatically change the status of the order on HubRise and on the original site of the order after printing:
- no (no change)
- mark as received (the order goes from new to received)
- mark as accepted (the order goes from new or received to accepted)
Systematically validate your changes with the “SAVE” button.
| Choice 1 | Choice 2 | Action on the printer and change of order status |
| Print the order if it is new | No | Automatic printing of all new tickets. New orders are not automatically “accepted” on the HubRise aggregator and your site. |
| Print the order if it is new | Mark as received | Automatic printing of all new tickets. New orders are automatically noted as “received” on the HubRise aggregator and your site. |
| Print the order if it is new | Mark as accepted | Automatic printing of all new tickets. New orders are automatically marked as “accepted” on the HubRise aggregator and your site. |
| Print the order if it is accepted | No (as the order has already been accepted, no further action is required) | Automatic printing only of tickets for orders that you have previously validated/accepted. If you have refused or not yet validated the order, the ticket will not be printed. |
| Print order if received | No | New orders are not automatically “accepted” on the HubRise aggregator and your site. |
| Print order if received | Mark as accepted | New orders are automatically “accepted” on the HubRise aggregator and your site. |