How to integrate Expedy Print with Zapier
Zapier makes it easy to automate the triggering of print data, according to defined actions.
Examples of use:
- Print a preparation slip when a new order is placed (Amazon Seller, Ebay, Wix…)
- Print a transport label when its status is “Ready to print” (Packlink, ShippyPro…).
- Print an A4 document once it’s been saved in a folder (Google Drive, DropBox, OneDrive…)
- Print a photo when published on a post (WordPress, Instagram, Facebook, Flickr…)
What is Zapier?

Zapier is an online automation platform that connects different applications and services, without the need for in-depth technical skills or code development.
By acting as a bridge between applications, Zapier facilitates the creation of automated workflows, known as “Zaps”.
These Zaps enable you to trigger automatic actions in one application in response to events occurring in another. For example, you could configure a Zap to send an e-mail every time a new post is published on your Facebook page, or to automatically add contacts from a Google form to your MailChimp subscriber list.
By reducing the need for repetitive manual intervention, Zapier saves time and increases efficiency in the management of your daily tasks and business processes.
How to configure Zapier (Zaps) connections
Zapier is free for up to 100 jobs per month.

Simply enter your e-mail address, first name and surname, then set a password. You can also register using your Google, Facebook or Microsoft login. Then you can select the applications you use most frequently to get personalized zap suggestions.
Once you’ve created your account, go to the Zaps section, then click on Create a zap.
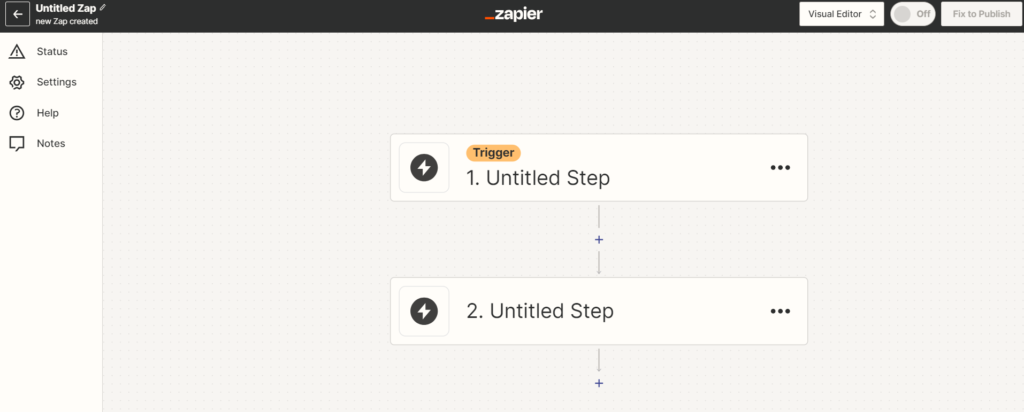
Click on Trigger to choose the trigger event for your future automatic action. And choose the application, for example Instagram.

Choose the event, here in our example, as soon as a post is published.

Now select the action, add Expedy Print.

Select the Create a Print Job event

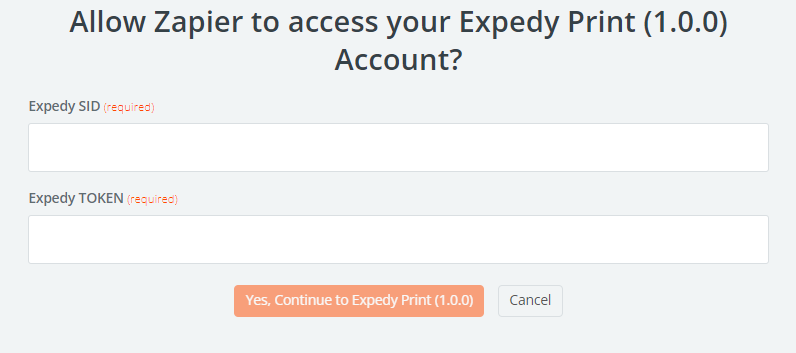
Create a new connection to your Expedy account by entering your API keys.
Enter the Printer UID, this is the printer’s unique identifier. If you don’t know it, you can find it in your account. Expedy Then define the message with the data you wish to print. In our example, we’ll automatically trigger the printing of the image for each new Instagram post. Then add the tag <IMG ></IMG> to tell the printer it’s an image.


Click on Test action, and you should get this message. If you get an error, be sure to check your API key and Printer UID connection information. Click on Publish.

You can also check that the print job has been sent to the Expedy print server via the console, in Printers > Select printer
For example:

Follow this guide to lay out your tickets
You can also create filters and other rules to suit your needs. So you can imagine automated printing being used for all kinds of activities.
If you have any questions, please do not hesitate to contact us.
![]() Français (French)
Français (French) ![]() English
English ![]() Español (Spanish)
Español (Spanish) ![]() Deutsch (German)
Deutsch (German) ![]() Italiano (Italian)
Italiano (Italian) ![]() Português (Portuguese (Portugal))
Português (Portuguese (Portugal))